Ok. I haven't done many tutorials so please bare with me, any questions please ask.
This card is what they call an Easel card as you can see by the way it stands.
What you will need:
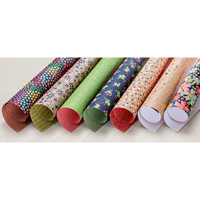
Cardstock -
- 11" x 4" (27.94 x 10.16 cm) piece of your choice of coloured card stock
- 5 1/2" x 4" (13.97 x 10.16 cm) piece of the same choice of coloured card stock
- 3 3/4" x 3 1/2" (9.525 x 8.89 cm) piece of whisper white card stock
- 3 1/2" x 3 3/8" (8.89 x 8.57 cm) piece of the same coloured card stock you chose
- 3 3/4" x 2 1/4" (9.525 x 5.715 cm) piece of whisper white card stock
These 5 pieces of card stock make up your card minus embellishments so you will need an extra little bit of white card stock for the number 50 and the banner.
For those who don't work with inches here is a guide to help you know the measurements and where they sit on the ruler. I know I had trouble because in Australia we use metric measurements and I was not schooled in Imperial measurements.
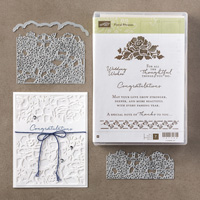
Stamp sets and dies used -
- Floral phrases stamp set
- Detailed Floral Thinlits Dies
- Number of Years Stamp set
- Large Numbers Framelit Dies
The Floral Phrases stamp set and die also comes in a bundle which works out cheaper than buying them separately.
or
- Big Shot
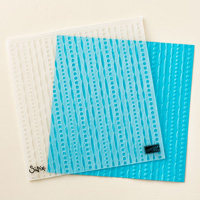
- Embossing folder
- Glue
- Dimensionals
- Sissors
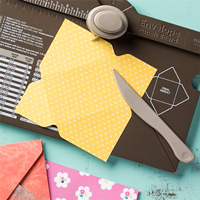
- Trimmer
- Bone Folder
- Ink pad to match your coloured card stock
- If you're not using wood mount stamps you will need blocks for your clear mount or photopolymer stamps
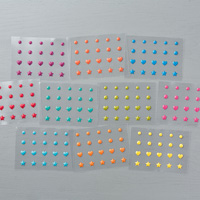
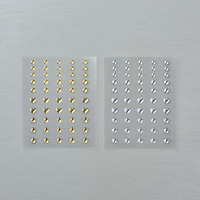
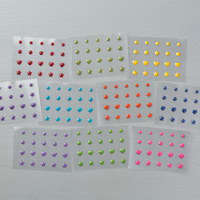
- Diamante or other embellishment that you find suits
- Copper Stampin' embossing powder
- Versamark ink
Now that we have that part sorted let's begin.....
Here are pictures of the sizes of card stock you need, using your trimmer cut your pieces to size.
Score your long piece of coloured card stock at 2 1/2" then 5 1/2"
Next we need to use the Detailed Floral die to cut the ends to make it look pretty!
Place the long thin die (which is what cuts the edge, if you didn't use this it wouldn't cut the end off) as close to the edge as possible then place the larger die behind it leaving just a small space as you can see in the picture. The small floral die goes on the 5 1/2" x 4" coloured card stock and the larger floral die goes on the 11" x 4" coloured card stock. Don't forget to use the long thin die with both of the floral dies. Place on your plates to run through the Big Shot.
The magnetic platform helps keep them in place or the precision base plate is great to use with detailed dies such as these, this is your choice, I used the magnetic platform.
This is what you will have once you have run it through the Big Shot.
Isn't it pretty?? I think it is :)
Ok let's run the 3 1/2" x 3 3/8" piece of coloured card stock through the Big Shot in the embossing folder you have chosen to use.
The embossing folder I used is a retired folder but it was what I needed to achieve the result I wanted. If you are looking for any retired Stampin' Up products to buy there is a great Facebook page that people advertise on: https://www.facebook.com/groups/SUSSF/
Now grab that spare bit of Whisper white card stock, your versamark ink and the number stamps you want to use. I used 50 as it was for a 50th Birthday.
Stamp the card stock with the versamark then pour the embossing powder over the versamark, shake off the excess powder and put back into the container, then using your heating tool heat the powder until it sets. I must tell you I found using the embossing buddy before you stamp really does help the excess embossing powder shake off so you're not left with dots of embossing powder where you don't want it.
Then using the number dies cut out your numbers by running through the big shot.
Now stamp your "Look who's turning" stamp on your spare bit of Whisper white card stock. Then cut around it and cut a V in either end. I use a pencil to put a dot on the other side so I know where the middle is to cut to to make the V.
On your 3 3/4" x 2 1/4" piece of whisper white card stock stamp your sentiment. You will now have all the bits ready to put together.
Layer your
- 5 1/2" x 4" piece coloured card stock
- 3 3/4" x 3 1/2" piece of whisper white card stock
- 3 1/2" x 3 3/8" piece of coloured card stock
as shown below...
Glue them altogether. (The top layer you will notice isn't embossed because I took the photo before I had embossed it :-/ )
Place your Look who's turning piece onto the top using dimensionals.
Then your numbers using dimensionals...
As you can see I cut the dimensionals down to size.
Glue your sentiment onto the long piece of coloured cardstock and this is what you should have....
Fold the card stock so that is sits like this....
Make sure to use your bone folder along the folds.
Glue your layered piece onto the top as shown....
Then place your embellishment on the bottom floral part so as your card doesn't slide flat as you can see in this photo....
And WALLUH your card is finished!!
When flat this card will fit in a standard C6 size envelope.
I hope you could understand my instructions. If you have any questions as I said before please ask!
'Til we craft again!
Donna