
What do you do on a Saturday morning?
This morning I decided to make a unicorn card. I've had in my head for a while now to make one but just haven't made myself sit down and actually get it from my head onto a card.
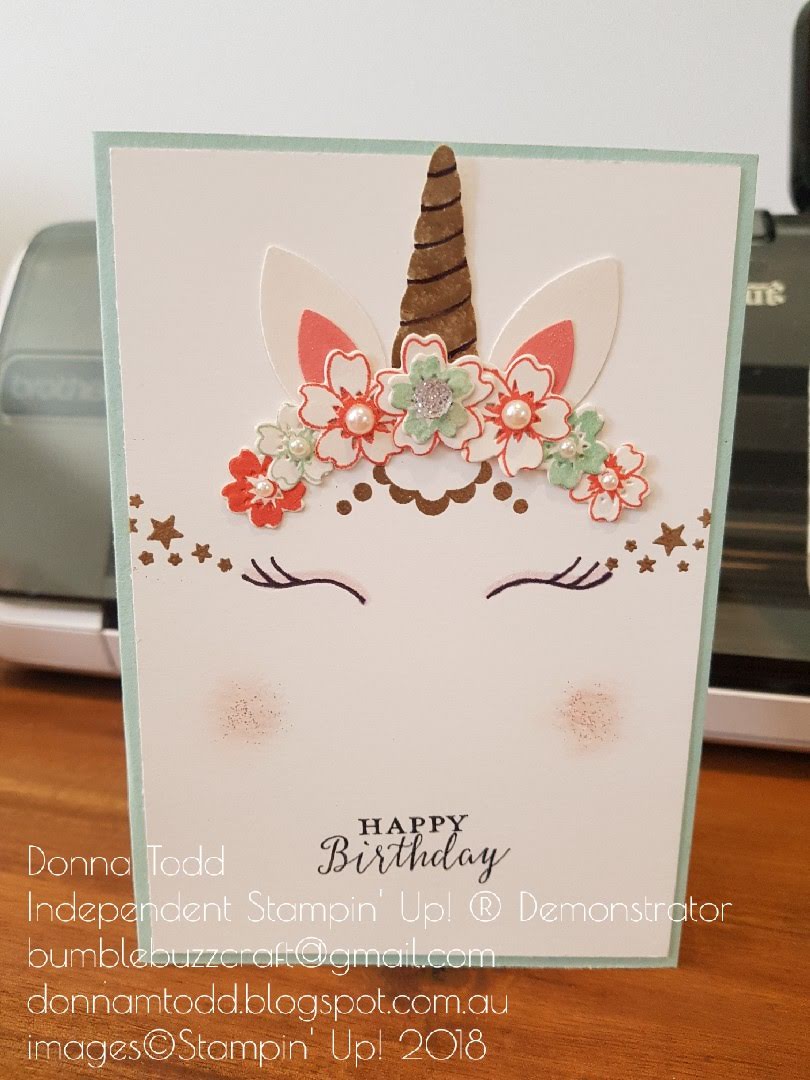
This is what my card turned out like....


There was a bit of a process to come up with this card, first was the eyes. Where to place them on the card, What shape do I want?
So first I jumped on my computer opened a word document and played with lines to make an eye. I like this shape a lot, it is a very happy eye.
Once I had the shape and size I wanted I printed it out then traced over it onto the cardstock as it gave my lines more of a smooth look and same size.
You can see here my fist attempt at the eyes and cheeks....I was not happy with it.

Hmm now the head dress for my Unicorn. I had to find the right size first and work out what colours I wanted. The first flower I tried just looked way to big so I found theses cute flowers in one of my stamp sets (which is a discontinued stamp set but I didn't have any others that were the right size). I cut out the amount I thought I would need and set about putting them together. I did a lot of putting it on the card base above the eyes I'd drawn on to get the shape and Order I wanted for the flowers.
Now the ears...hmmm what am I going to use that has the right shape I want. Again I found a discontinued punch that had the perfect shape for the outside and inside of the ears! If you don't have anything like this you can always find a picture on Google and cut them out.


Ok ears done, now the horn, again onto Google and found the perfect shape I wanted! Copy and pasted it onto a word document and resized it and printed it out. I love my brother scan and cut! I scanned the image into my scan and cut, put the cardstock through and cut the horn out....Perfect!
I wanted a gold horn so I used a versamark pen and coloured the areas I wanted gold then used the Gold embossing powder.
My unicorn needs some cute decorations so I found this cute star stamp from the Wood Words stamp set and put them to the side of the eyes using the versamark ink and Gold embossing powder.
Now when I put it all together on the card base it needed something between the flowers and the eyes. My Detailed with Love stamp set had the perfect stamp which I also did in the Gold embossing powder.
Oh cheeks, my unicorn needs some blusher so using just a bit of scrunched up hand towel I blotted some light ink in the cheek area. Then using some silver embossing powder I sprinkled a few bits over the ink then heated. I then used the Clear wink of stellar and painted that over the ink as well.
I placed it all together on the card base to make sure of placement before gluing.

Oh I also wink of stellared the inside of the ears as well.
Once it was all glued down I glued some embellishments in the middle of the flowers and stamped a sentiment from the Detailed with Love stamp set on the bottom then glued it onto the folded card base.
Wullah!! Done!!
I hope you like my first attempt at a Unicorn Card.
Any question please feel free to ask me. I will list what I have used for you (apart from the discontinued stamp set and punch used for the ears and flowers. I had a look and I think the Bouquet Blooms Stamp set would be a great alternative for the flowers...so now I have to buy it ;) )
`
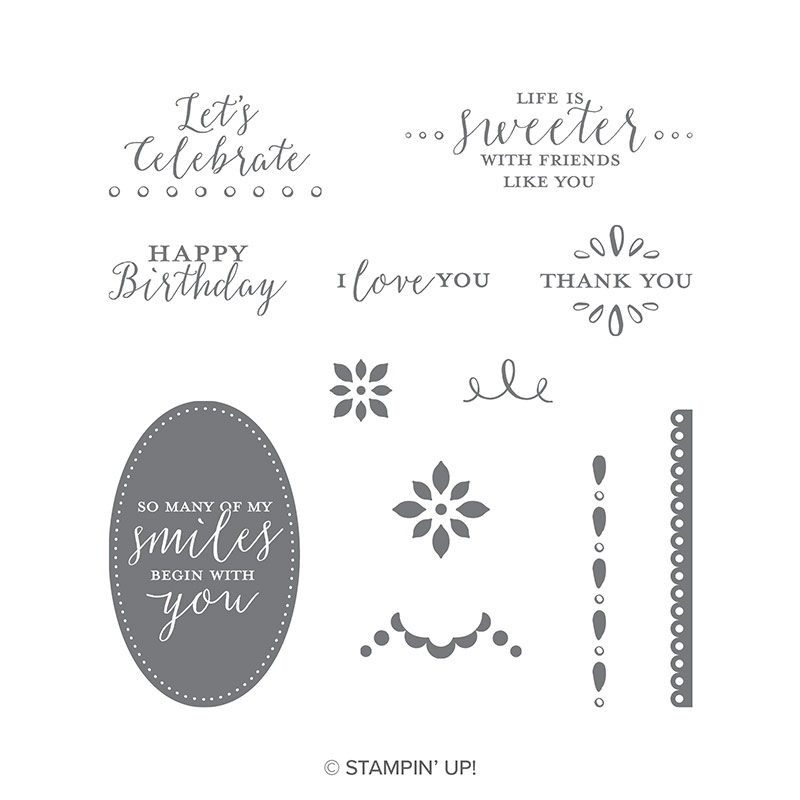
Detailed with Love Clear-mount Stamp Set
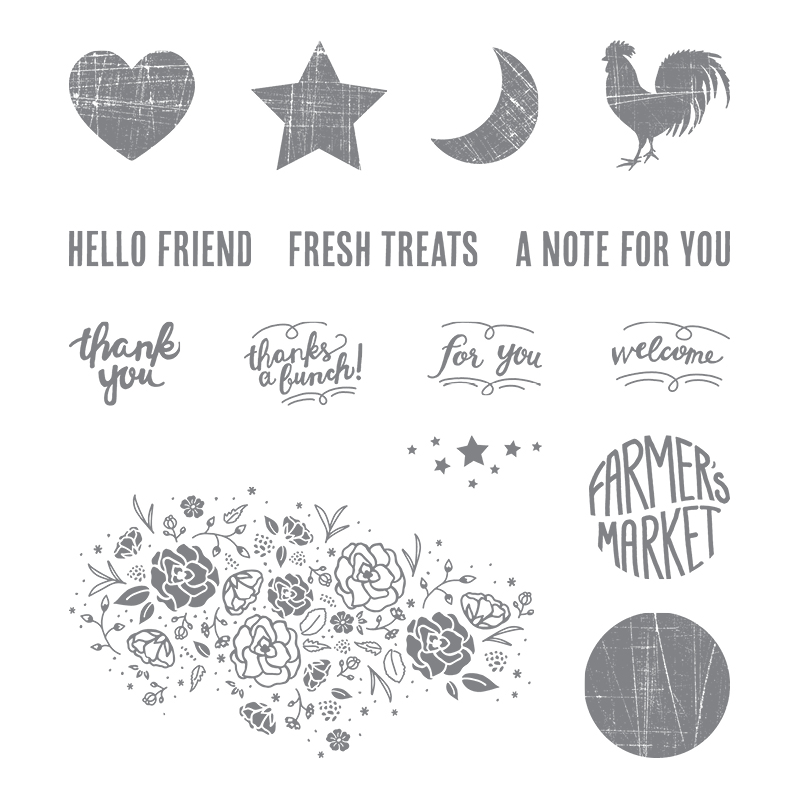
Wood Words Clear-mount Stamp Set

Pool Party Card Stock and Ink Pad
Flirty Flamingo A4 Card Stock and Ink pad.
Shimmery White Card Stock
Whisper White Card Stock
Memento Black ink pad
Versamark ink pad
Powder Pink Stamp pad
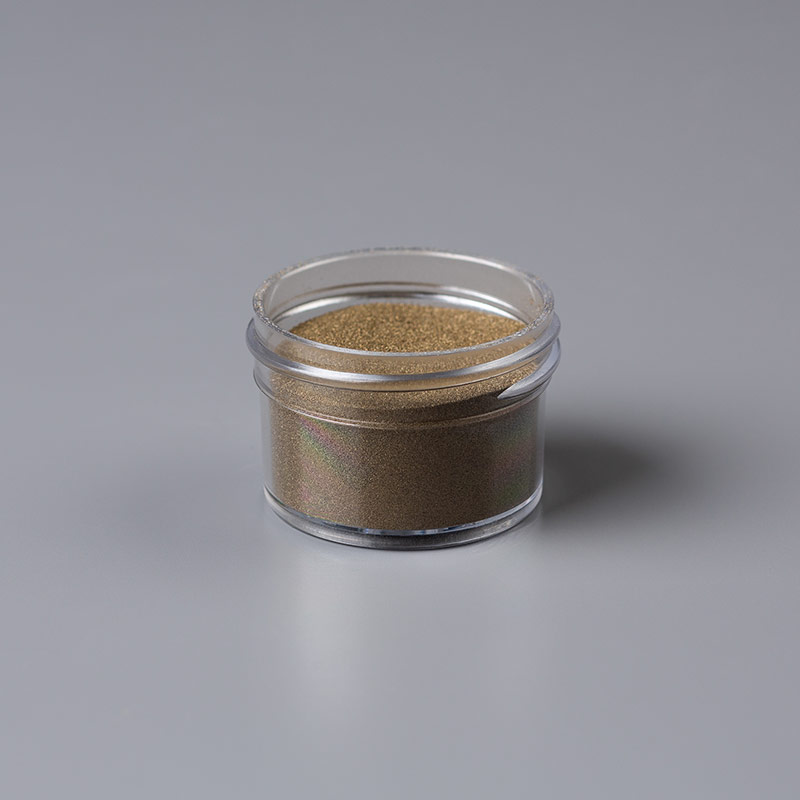
Gold and Silver Stampin' Emboss Powder
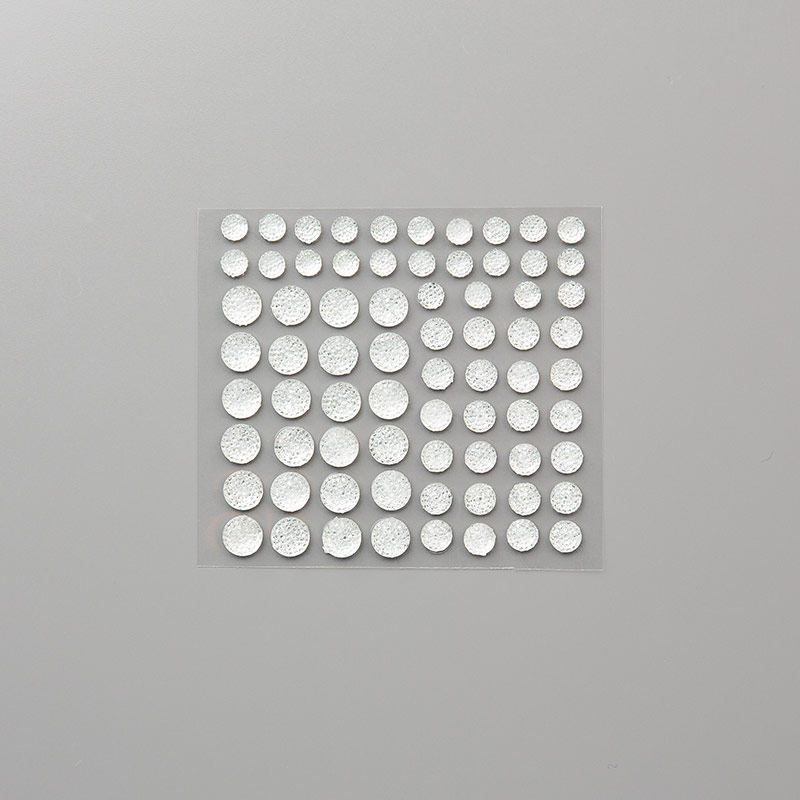
Clear Faceted Gems
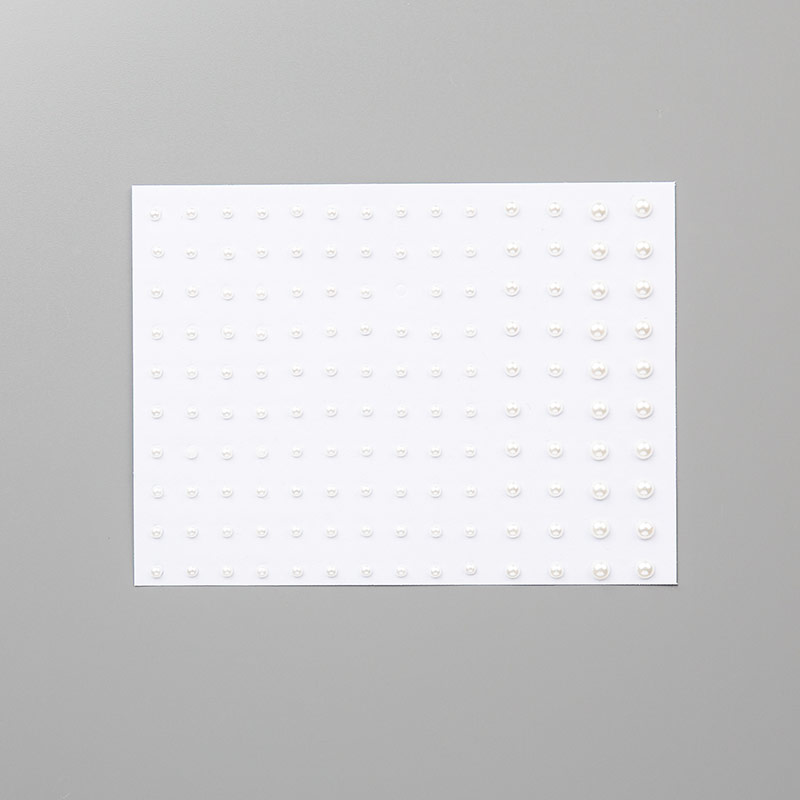
Pearl Basic Jewels
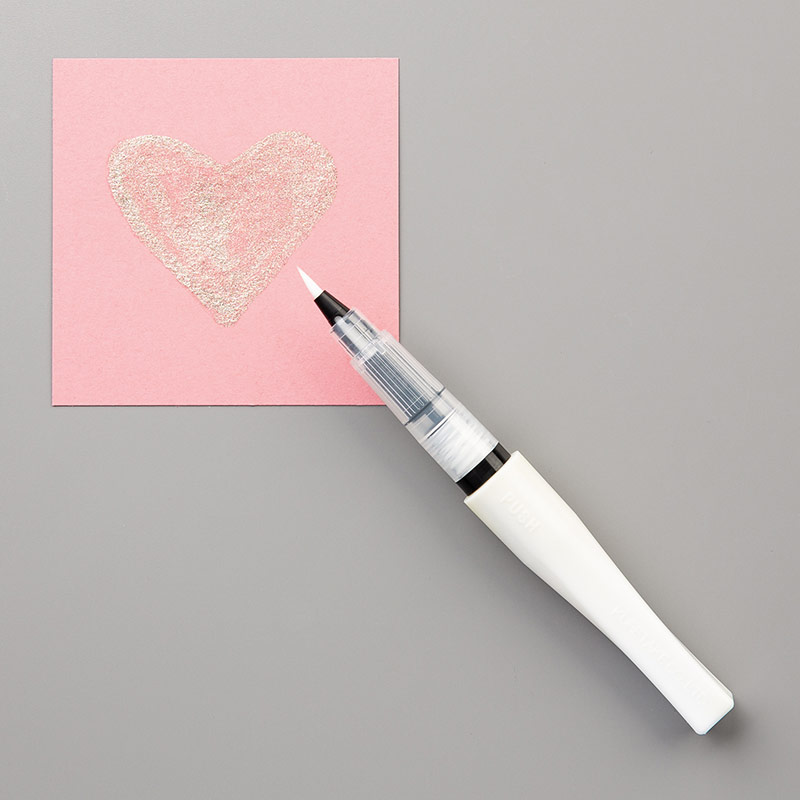
Clear Wink of Stella Glitter Brush
Basic Black Stampin' Write Marker
While I was working on this card I also had some fun with Snapchat ;)

and my daughter sent me this cute pic of my grandson...

Have a great weekend!

 are bringing back an incredible offer on Designer Series Paper:


