Wednesday, 8 August 2018

Colour Your Season, Bonus Days

Hi, Hope you are all keeping well!

I have a few things to talk about today.  The first one is the limited time offer Colour Your Season!


Now's the time to get in and purchase these gorgeous sets as they are only available for the month of August or until stocks last.

Get in the mood to create something full of colours and seasons! Introducing the all-new, limited-time Colour Your Season products:

Blended Seasons Stamp Set, an exclusive 10-piece wood- or clear-mount stamp set with images for every season!

Stitched Season Framelits Dies, a coordinating stitched die that includes stitching on both the positive and negative images!

Watercolor Pencils in 10 new colours! 
Note: These Watercolor Pencils may be available in a future publication.
Please note: The bundle includes the stamp set and dies only. It does not include the Watercolor Pencils.

While the Blended Seasons Stamp Set works great with the Watercolor Pencils, it also works well with our other colouring tools too, such as the Aqua Painter, Brusho, Blender Pens and more!

Check out the sets here....

Aren't they just perfect??  So great for colouring in!  I love the shape of the frames too!

Now if you would like to know more just ask me.

Ok on to my next bit of exciting news...

Do you need a little extra colour in your life?
Shop during the Colour Your Season promotion,
and then treat yourself to Bonus Days!
For every $90 AUD/$110 NZD you spend from
August 1–31 (before shipping and handling), you’ll
get a $9 AUD/$11 NZD Bonus Days coupon
that you can use during September 1–30.
There is no limit to how many coupons you
can earn, so shop all month!
I love this promotion! Best way to get more of your favourite things from Stampin' Up!


Don't forget I am running a Scrapbooking day at my place every second Friday from 10am to 4pm. So if you live near Narara NSW, Australia and would like to come along then please message me!  The more the merrier I say.  Here are some more details.....


I also run card classes here are some details as well....


 I think that just about does it for my news, pretty exciting though huh?!
I hope you all are having a lovely week and continue to do so.

So...


Tuesday, 7 August 2018

Loyalty Card

EXCITING NEWS!🎉📢️ 
I decided to give something back to my customers. So I decided that anyone who orders Stampin' Up! products from me will receive a loyalty card. After 9 purchases of over $25 (excl shipping) on your 10th order when you spend $25 you can then spend another up to $25 on me.
(Left over amounts will not be carried over eg if you only spend $20 of your $25 on me, the $5 left over will not be carried over to your next spend.) I will keep a digital copy of your Loyalty card and mark off your spend so you don't have to worry about bringing your card to me to be stamped.
🇦🇺 Australian residents only.


Also I'm starting up a scrapbooking day.....If you live in my area - Narara, Central Coast NSW, Australia then message me for more details :D


Monday, 6 August 2018

September 2018 Holiday Catalogue

I can't wait for you to see the new Holiday catalogue that goes live on the 5th September!! There are soooo many GREAT and CUTE stamp sets and accessories I really couldn't decide what I wanted to buy first!! I nearly wanted the WHOLE catalogue! Yes it is that AWESOME! Can't wait to get my pre-order (perks of being a demonstrator :D ) and show you what I make so you can see that I'm not being over dramatic about how awesome this Holiday Catalogue really is! 
If you would like a copy of your very own let me know and I will get one out to you when they become available.
Here is what I am allowed to show you....the front cover 😉

I can't wait to show you the rest!


Monday, 16 July 2018

Poinsettia flower

The Stampin' Up! team I am in meets regularly once a month to share ideas and learn new techniques and we also do a card swap within our team. This month is Christmas in July, we are making Christmas cards for our swap. As I didn't really have any Christmas Stamp sets (can't wait for the next holiday catty to come out 😁) I thought maybe I could make a Poinsettia out of the Pop of Petals stamp set and punch! This is what I came up with. I think it turned out pretty good! What do you think?


What I did to achieve this is I stamped in the same colour as the cardstock and punched out 4 flowers in  the Lovely Lipstick cardstock and ink and stamped and cut out 2 in the Call me Clover cardstock and ink.  The top flower I left whole but the rest I cut into 4 separate petals then glued them individually to the back of the whole flower.  I did the same for the leaves.  I put some wink of stella on the petals and I am thinking of maybe putting a clear faceted gem in the centre as well.

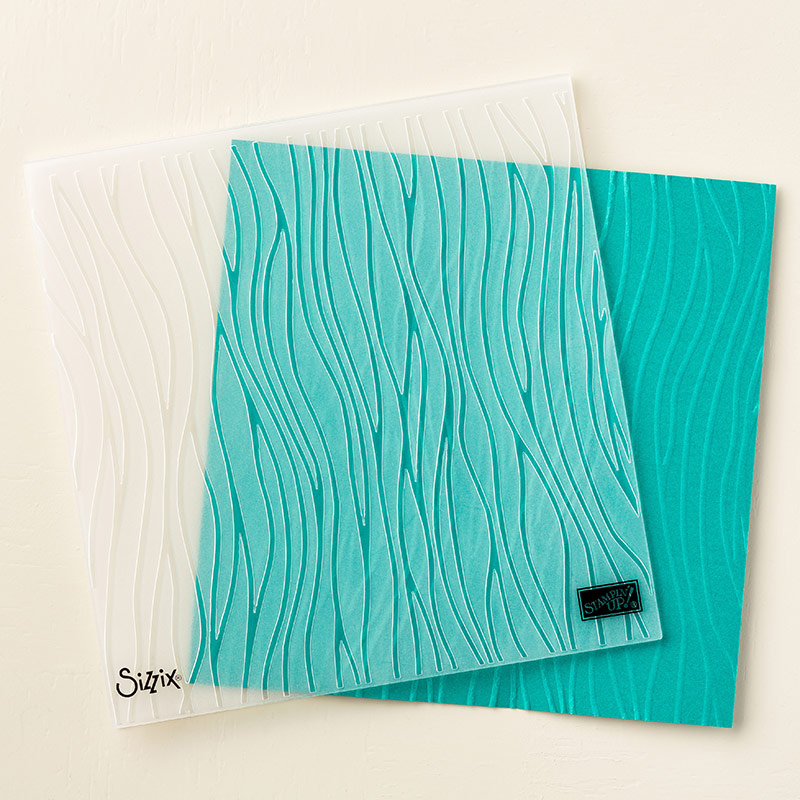
The embossed strip across the card is the Seaside Textured Impressions embossing folder.  I just love the mini sequin trim! 

The following is the list of what I used, just click on the picture to see more detail and to take you to my on-line store.

Cardstock used:
Whisper White A4 Cardstock
Lovely Lipstick Cardstock
Call me Clover Cardstock

Stamp Sets used:
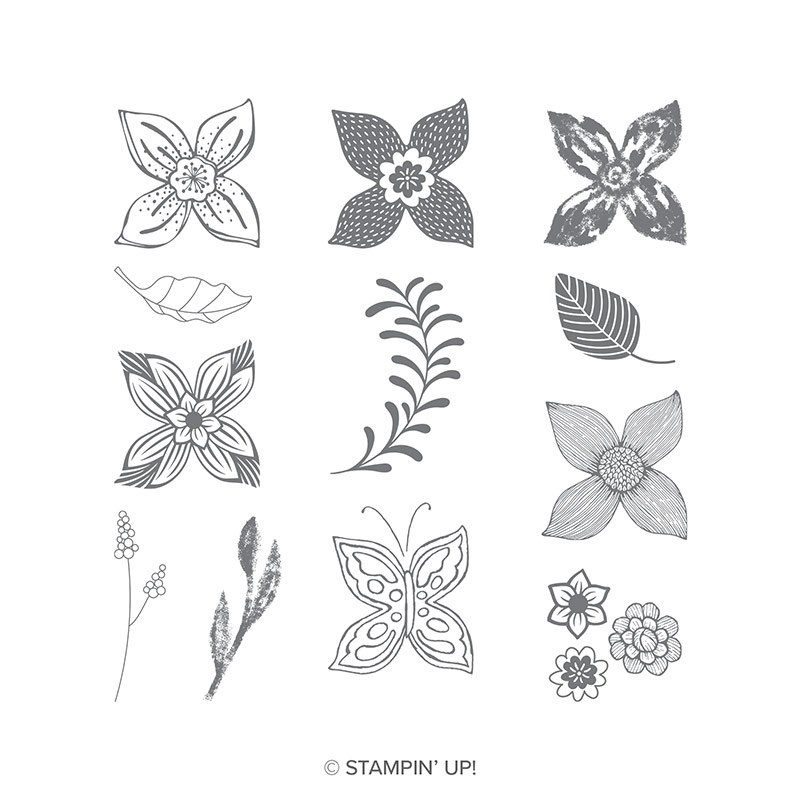
Pop of Petals Clear Mount Stamp set
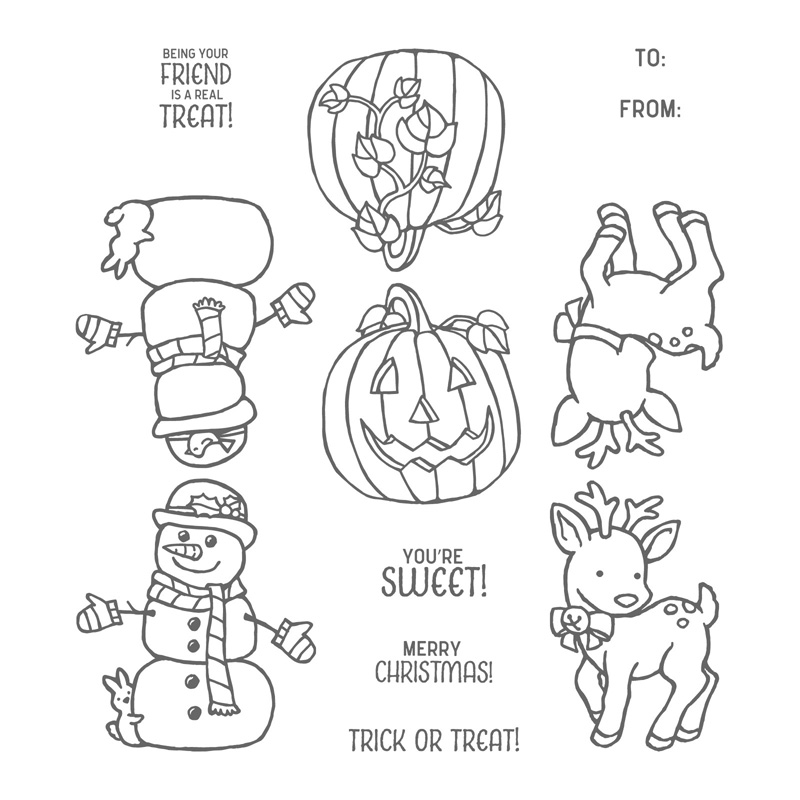
Seasonal Chums Clear Mount Stamp set

Punch used:
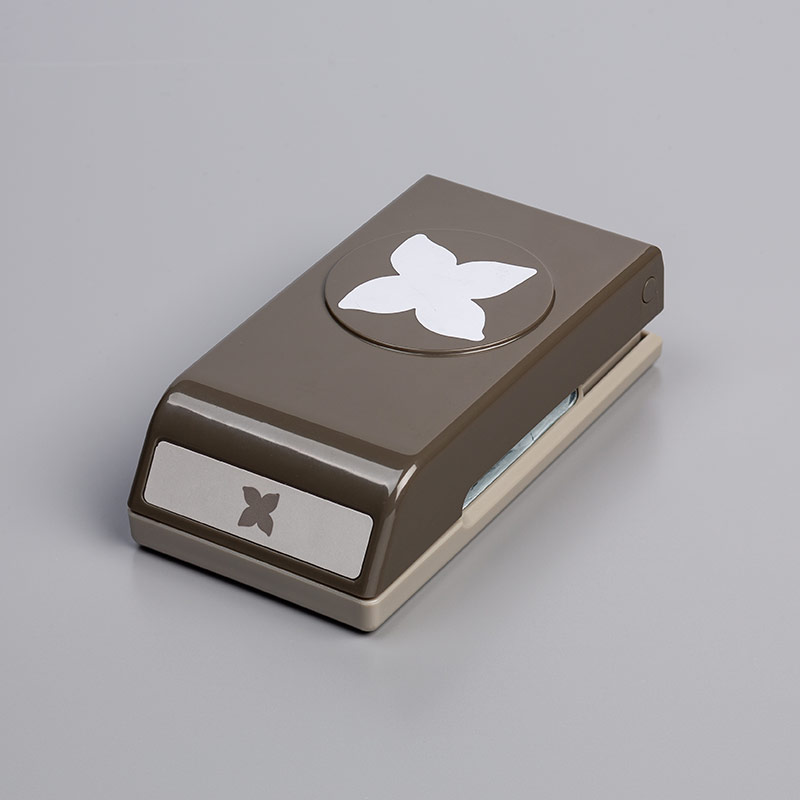
Four-Petal Flower Punch

Embossing Folder used:
Seaside Textured Impressions Embossing Folder

Stamp Pads used:

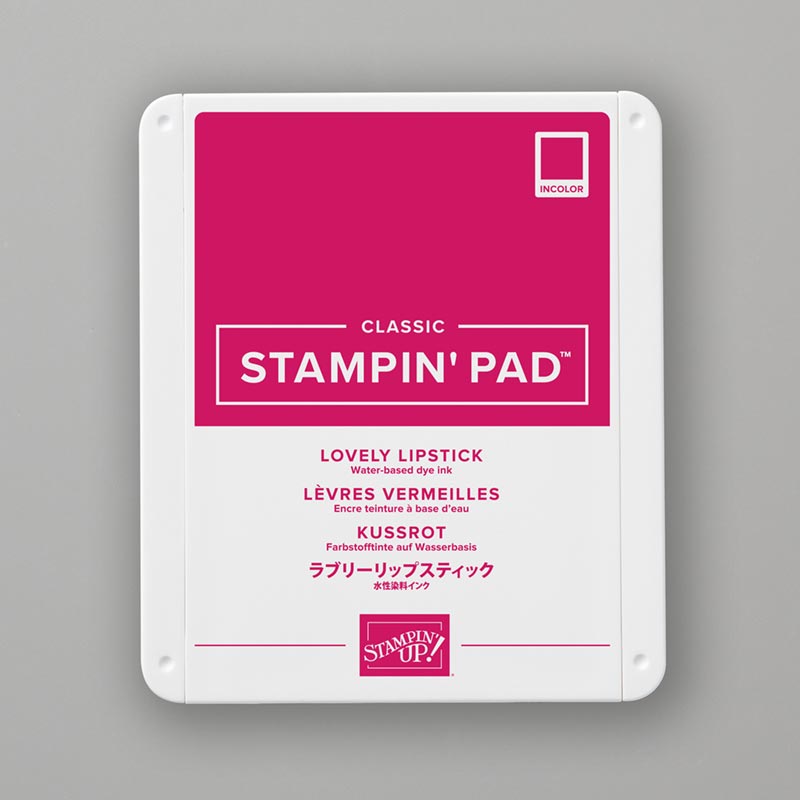
Lovely Lipstick Stampin' Pad
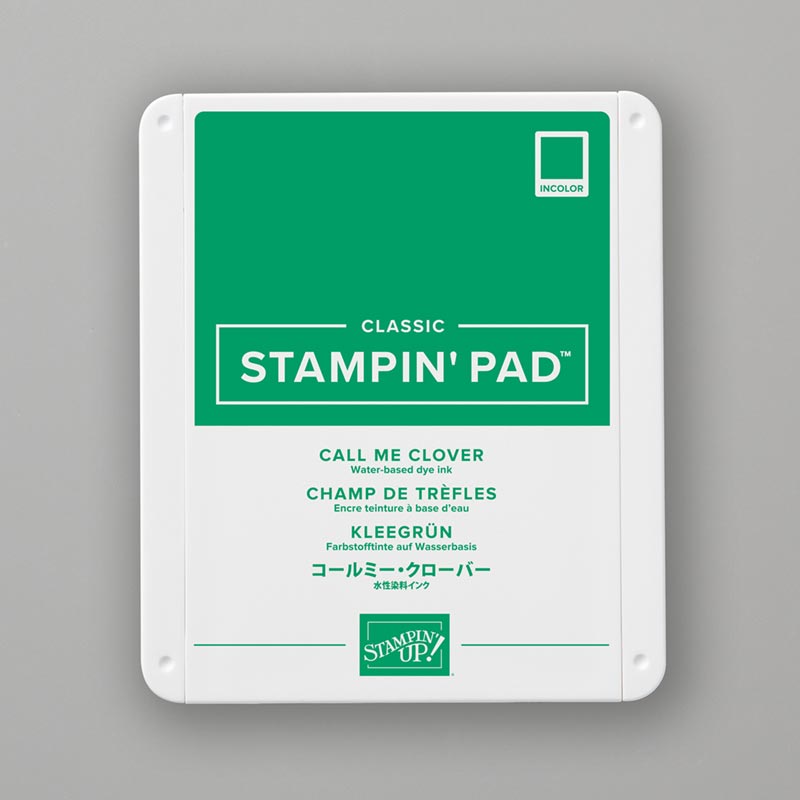
Call me Clover Stampin' Pad
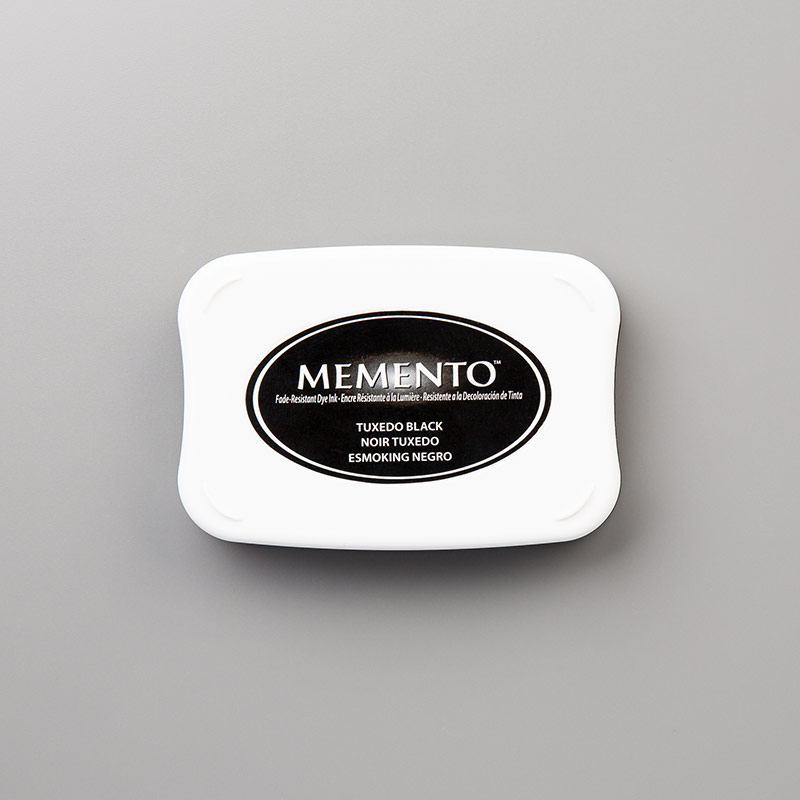
Tuxedo Black Memento Ink Pad

Embellishments used:
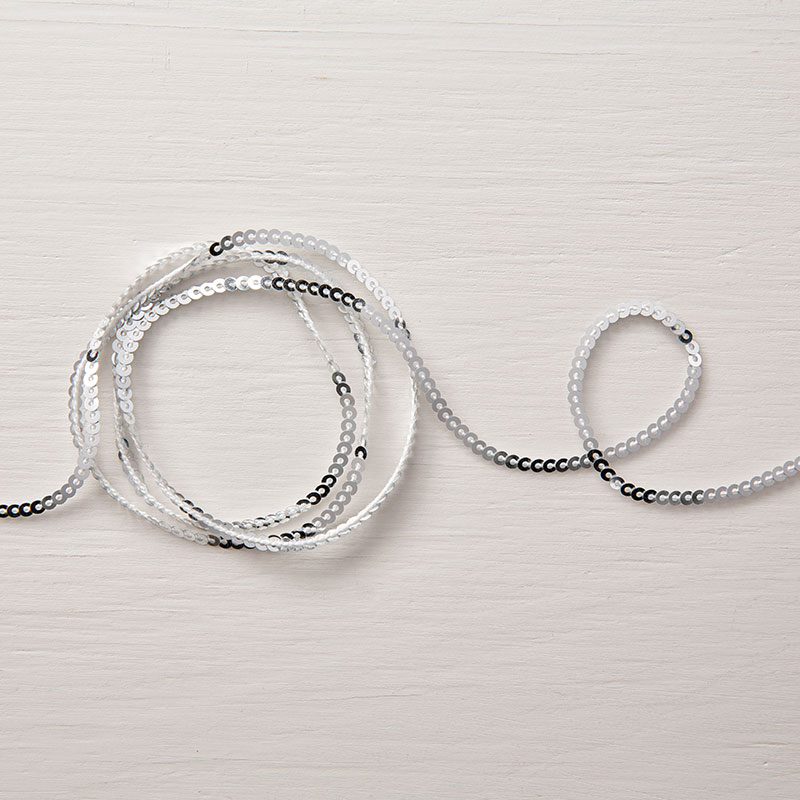
Silver Mini Sequin Trim

Colouring Tool used:
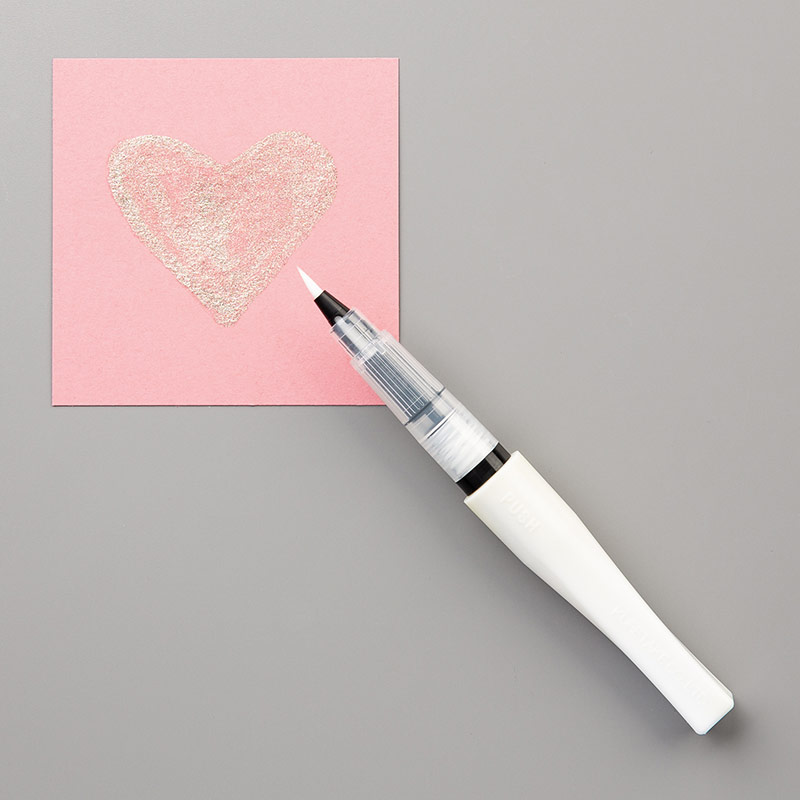
Clear Wink of Stella Glitter Brush

Hope you like my flower.


Saturday, 7 July 2018

Unicorn card

What do you do on a Saturday morning?  
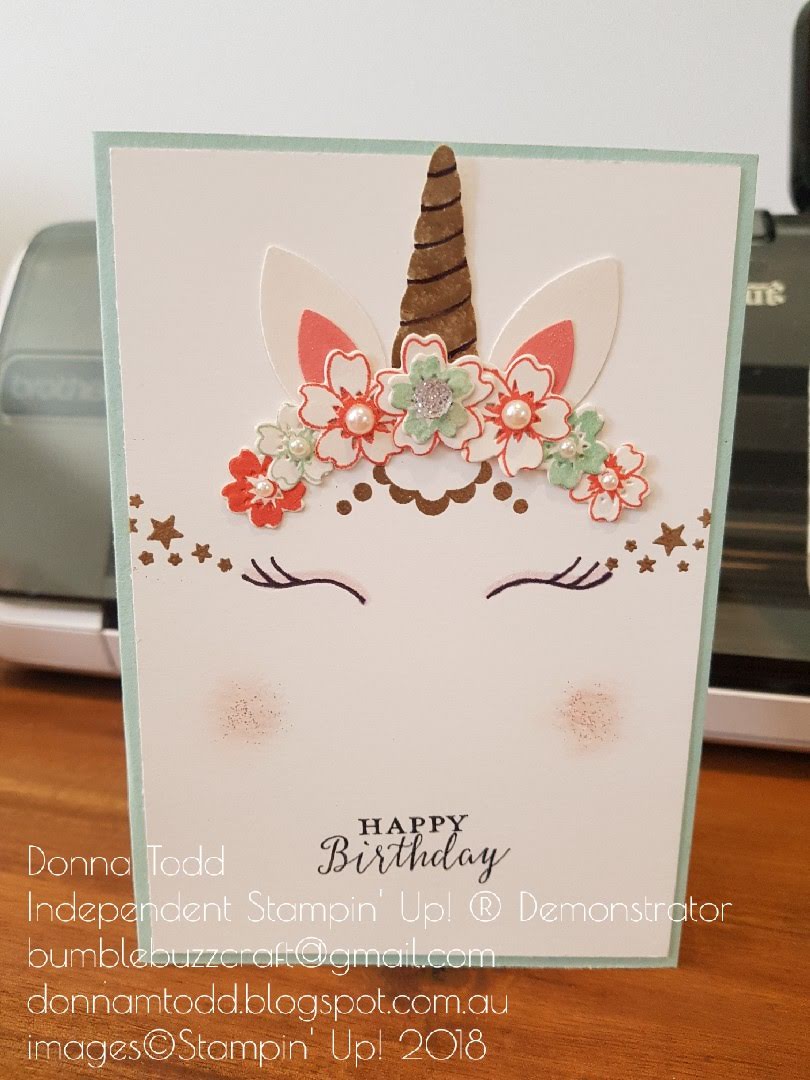
This morning I decided to make a unicorn card.  I've had in my head for a while now to make one but just haven't made myself sit down and actually get it from my head onto a card.
This is what my card turned out like....


There was a bit of a process to come up with this card, first was the eyes.  Where to place them on the card, What shape do I want?
So first I jumped on my computer opened a word document and played with lines to make an eye.  I like this shape a lot, it is a very happy eye.
Once I had the shape and size I wanted I printed it out then traced over it onto the cardstock as it gave my lines more of a smooth look and same size.
You can see here my fist attempt at the eyes and cheeks....I was not happy with it.

Hmm now the head dress for my Unicorn.  I had to find the right size first and work out what colours I wanted.  The first flower I tried just looked way to big so I found theses cute flowers in one of my stamp sets (which is a discontinued stamp set but I didn't have any others that were the right size).  I cut out the amount I thought I would need and set about putting them together. I did a lot of putting it on the card base above the eyes I'd drawn on to get the shape and Order I wanted for the flowers.  

Now the ears...hmmm what am I going to use that has the right shape I want.  Again I found a discontinued punch that had the perfect shape for the outside and inside of the ears! If you don't have anything like this you can always find a picture on Google and cut them out.


Ok ears done, now the horn, again onto Google and found the perfect shape I wanted!  Copy and pasted it onto a word document and resized it and printed it out.  I love my brother scan and cut!  I scanned the image into my scan and cut, put the cardstock through and cut the horn out....Perfect!
I wanted a gold horn so I used a versamark pen and coloured the areas I wanted gold then used the Gold embossing powder.

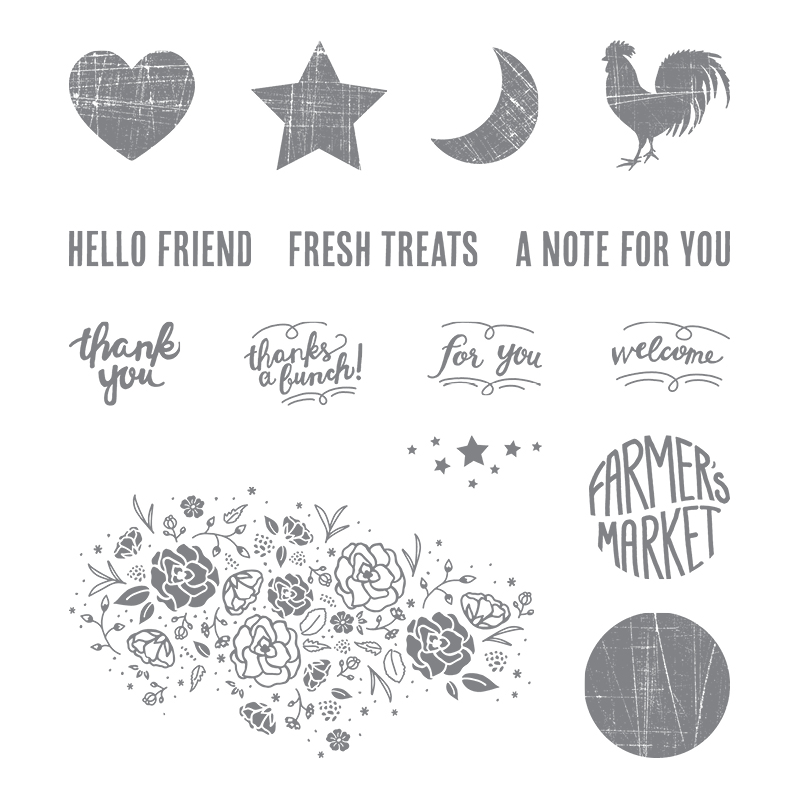
My unicorn needs some cute decorations so I found this cute star stamp from the Wood Words stamp set and put them to the side of the eyes using the versamark ink and Gold embossing powder.
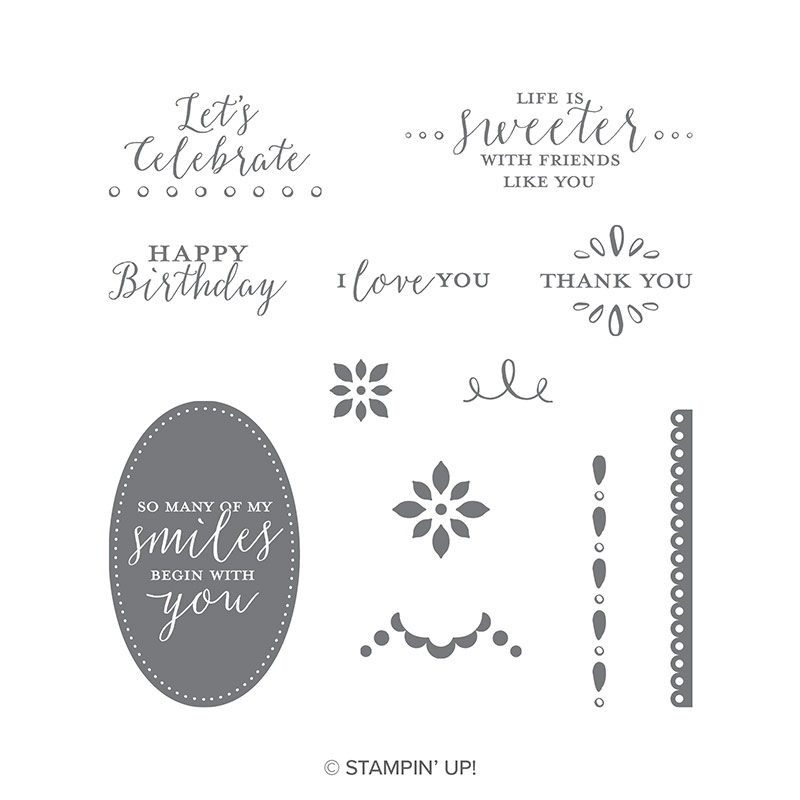
Now when I put it all together on the card base it needed something between the flowers and the eyes.  My Detailed with Love stamp set had the perfect stamp which I also did in the Gold embossing powder.  
Oh cheeks, my unicorn needs some blusher so using just a bit of scrunched up hand towel I blotted some light ink in the cheek area.  Then using some silver embossing powder I sprinkled a few bits over the ink then heated.  I then used the Clear wink of stellar and painted that over the ink as well.
I placed it all together on the card base to make sure of placement before gluing.


Oh I also wink of stellared the inside of the ears as well.
Once it was all glued down I glued some embellishments in the middle of the flowers and stamped a sentiment from the Detailed with Love stamp set on the bottom then glued it onto the folded card base.
Wullah!! Done!!

I hope you like my first attempt at a Unicorn Card.
Any question please feel free to ask me. I will list what I have used for you (apart from the discontinued stamp set and punch used for the ears and flowers. I had a look and I think the Bouquet Blooms Stamp set would be a great alternative for the flowers...so now I have to buy it ;) )
`
Detailed with Love Clear-mount Stamp Set

Wood Words Clear-mount Stamp Set

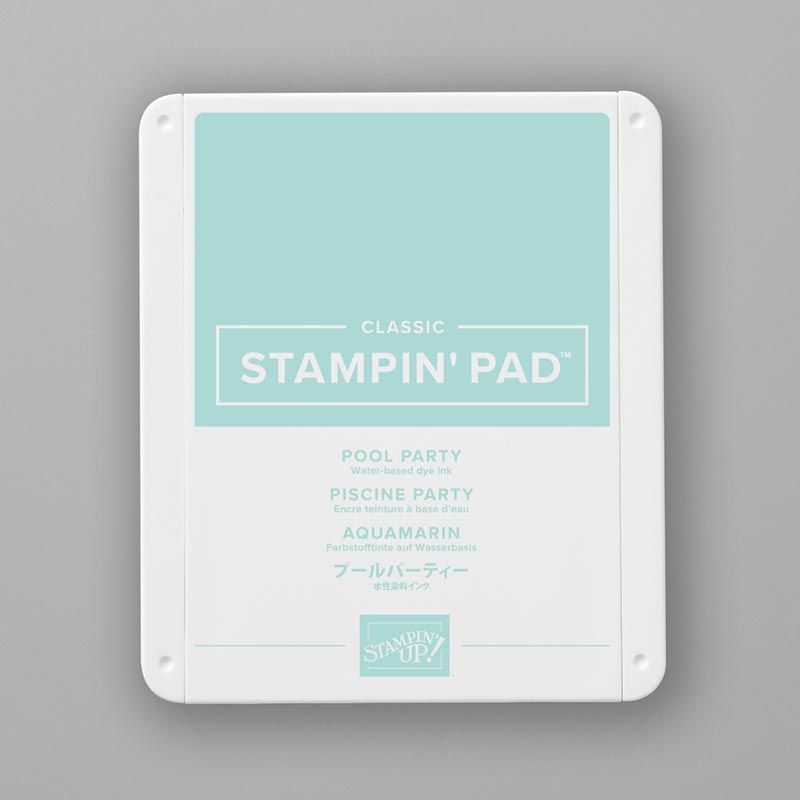
Pool Party Card Stock and Ink Pad
Flirty Flamingo A4 Card Stock and Ink pad.

Shimmery White Card Stock
Whisper White Card Stock

Memento Black ink pad

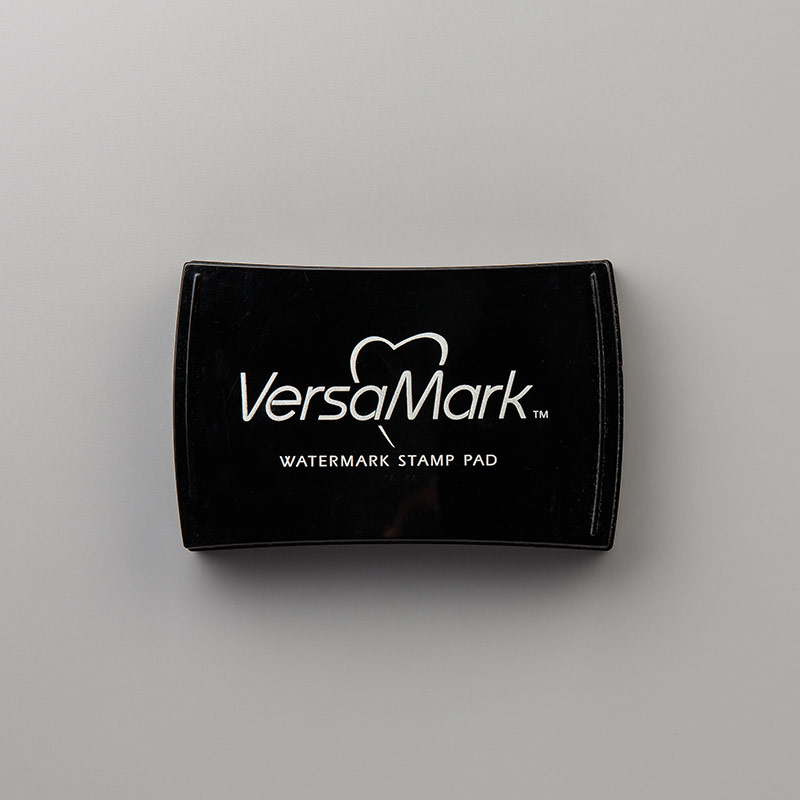
Versamark ink pad

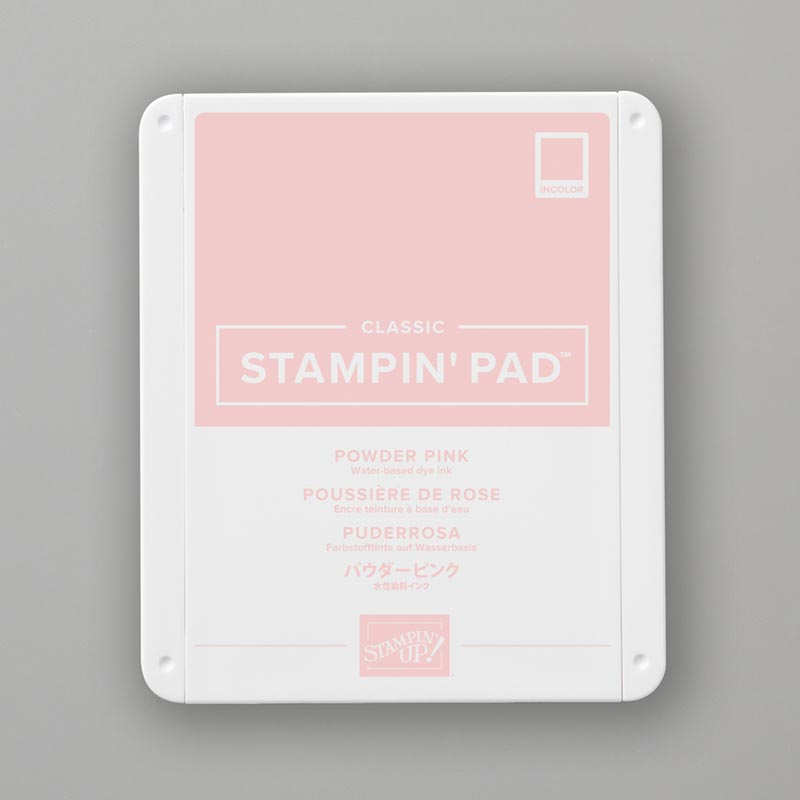
Powder Pink Stamp pad

                                                  
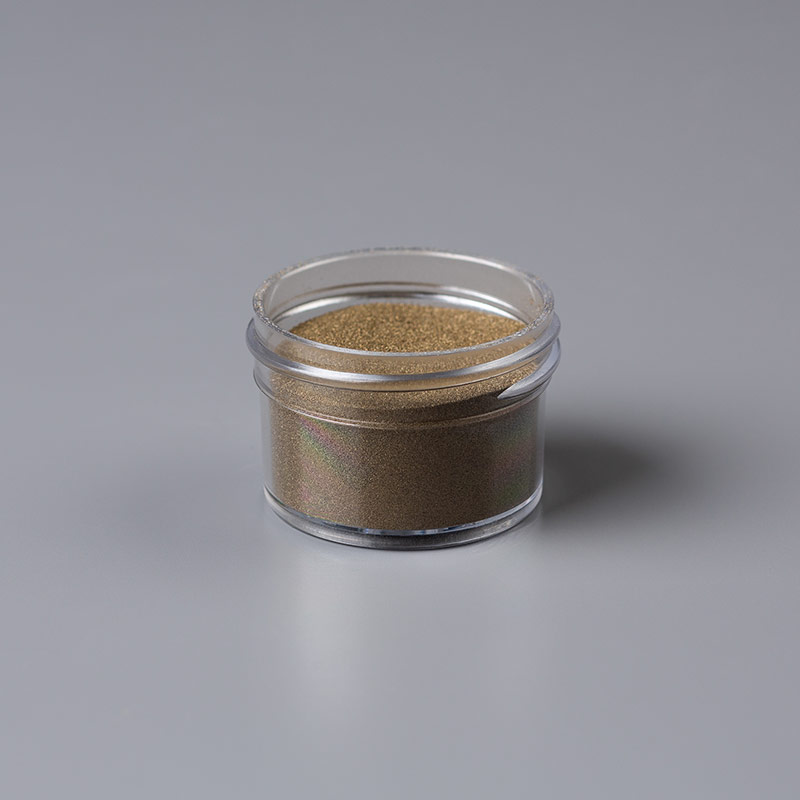
 Gold and Silver Stampin' Emboss Powder

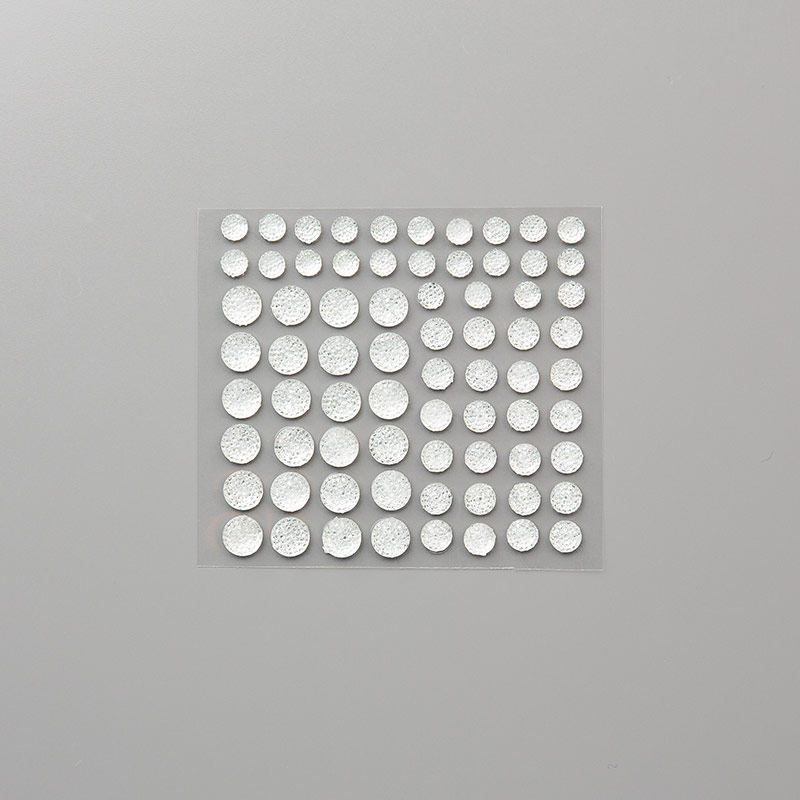
Clear Faceted Gems

Pearl Basic Jewels

Clear Wink of Stella Glitter Brush

Basic Black Stampin' Write Marker

While I was working on this card I also had some fun with Snapchat ;)
and my daughter sent me this cute pic of my grandson...

Have a great weekend!